Installing Blazegraph and Wikibase
This tutorial will help you use Docker to install two well-known linked data applications that will be interesting to experiment with: Blazegraph and Wikibase. These instructions assume that you have Docker already installed on your computer. If you don’t, there are installation instructions elsewhere.
Using Docker to create an instance of Blazegraph on your local computer
Pulling and starting the Blazegraph container
Start by going to Docker Hub (https://hub.docker.com/). Enter blazegraph in the search box at the top of the page. As you can see, there are a number of Blazegraph images that have been posted. We will chose lyrasis/blazegraph because it has a lot of downloads, a lot of starts, and instructions that are easy to follow.
Open a console window (Command Prompt in Windows or Terminal in Mac). Enter the following command:
docker pull lyrasis/blazegraph:2.1.5
(When I left the version number off the command shown at Docker Hub, I got an error message.) You will see a number of status messages as the Docker client pulls all of the bits it needs.
When the pull is finished, we will follow the Quickstart instructions to run Blazegraph for the first time. The run command shown in the instructions is more complicated than what is listed on the Docker cheatsheet:
docker run --name blazegraph -d -p 8889:8080 lyrasis/blazegraph:2.1.5
The --name option makes it possible to refer to the container in a more abbreviated way. The -d option runs the container in detached mode, a detail we will not worry about. The -p 8889:8080 port command maps the port number where the service is listening inside the container (8080 in this example) to the port number outside the container where clients connect. The important thing here is that when we want to use Blazegraph via a web browser, we need to connect to port 8889.
When Blazegraph is running on your computer locally, it is actually a localhost server that interacts through an IP address that you can access using a web browser. Once the server is started using the docker run command listed above, it will continue to operate regardless of whether any web browser is connected to it or not.
To stop the Blazegraph server, issue the following command (using the short name you assigned) in the console window:
docker container stop blazegraph
To restart the container, enter:
docker restart blazegraph
Note that stopping the container does not get rid of it. It is still present in an inactive form at the state when it was stopped. To actually remove the container, list the containers using:
docker container ls --all
and find the ID of the lyrasis/blazegraph:2.1.5 container. Then issue the command
docker container rm {containerId}
where {containerId} is the ID you found in the list. For example, if the ID were 3413cbe0f296, the command would be
docker container rm 3413cbe0f296
Note that this removes the container, but doesn’t delete the generic Docker image that you downloaded and used to set up the container. To delete the image as well, list the images using
docker image ls
then give the command
docker image rm {imageId}
where {imageId} is the ID you found in the image listing.
Starting Blazegraph
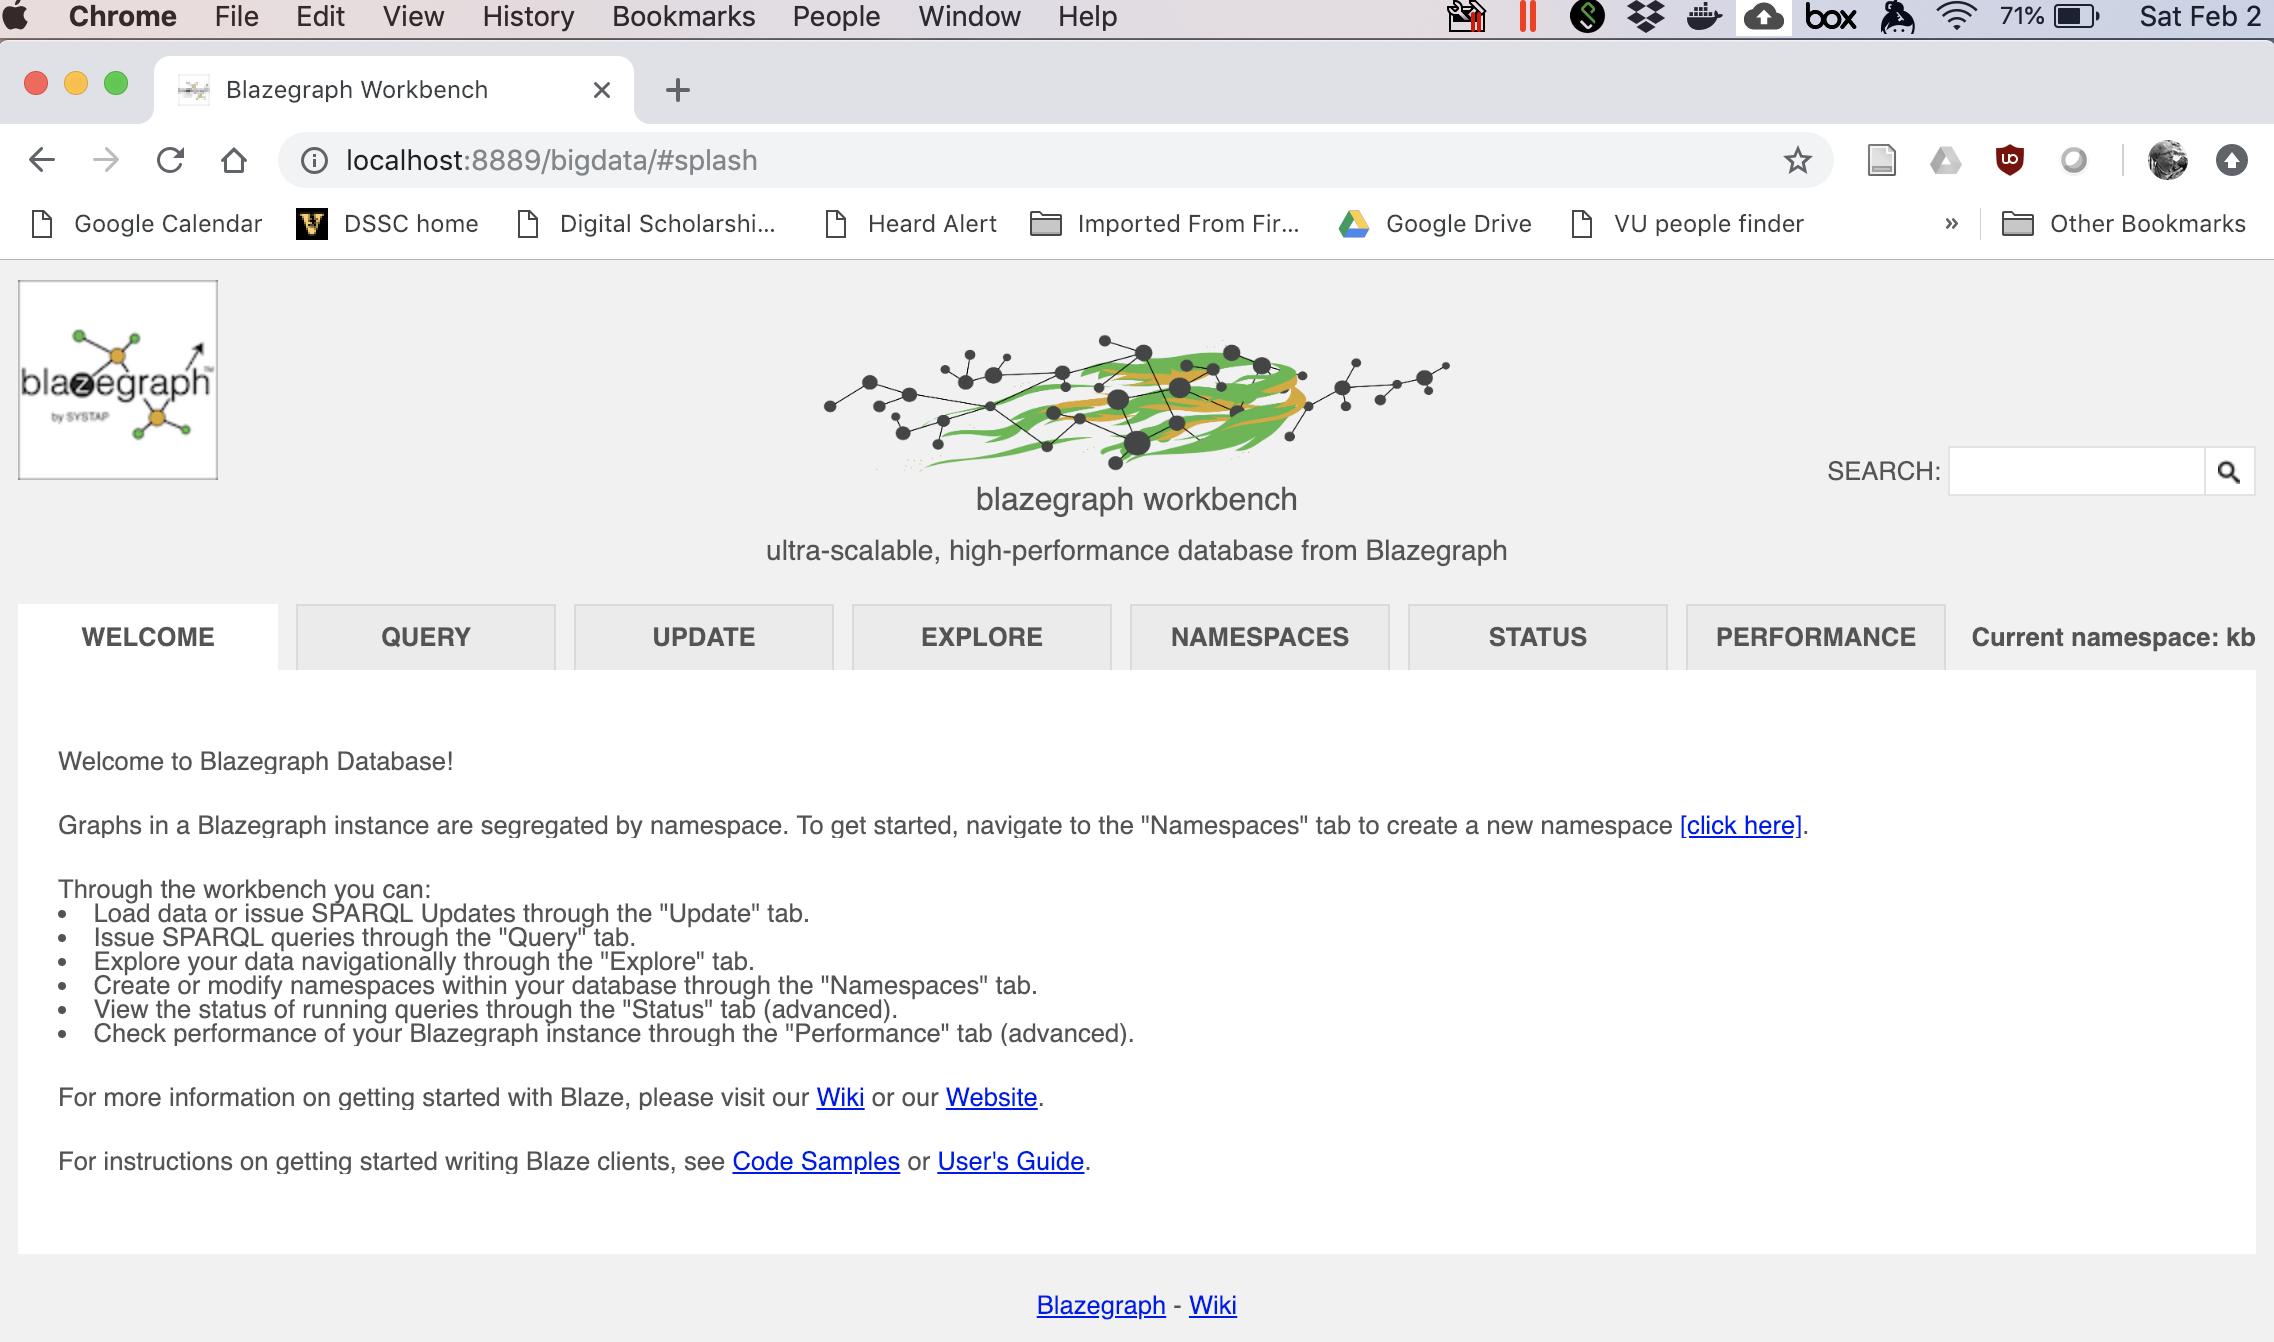
Access to the Blazegraph graph database and query functions is done through a web browser via the port that you set when you initiated the Blazegraph server using docker run (port 8889). To access the database, open your favorite web browser and enter the following in the browser URL bar:
localhost:8889/bigdata/
You should see the following screen:
Loading data
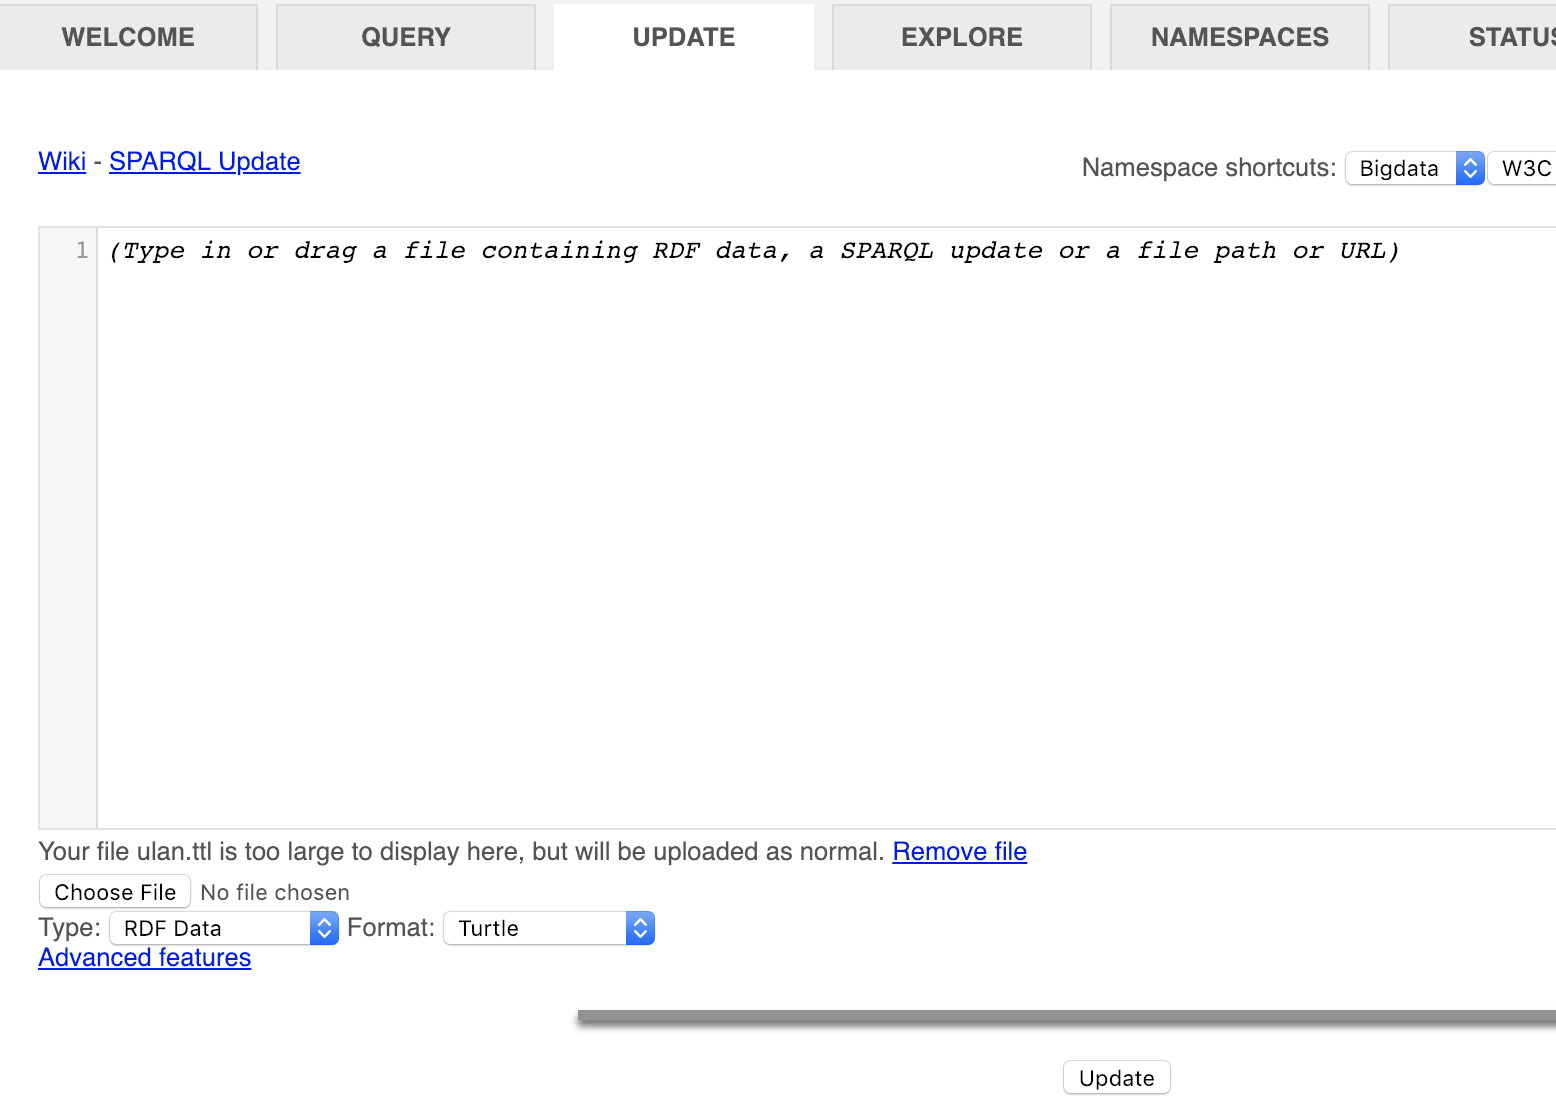
You can load files by direct upload using the UPDATE tab and carry out SPARQL queries using the QUERY tab.
To upload a file from your hard drive, use the Choose file button. When the file is selected, the serialization will be detected based on the file extension. If the file is small, it will be shown on the screen. If it is big, it will say the file is to big to display. Click the Update button. After the file loads, a message will appear at the bottom of the screen something like “Modified: 444” where the number indicates the triples loaded. It will look like this:
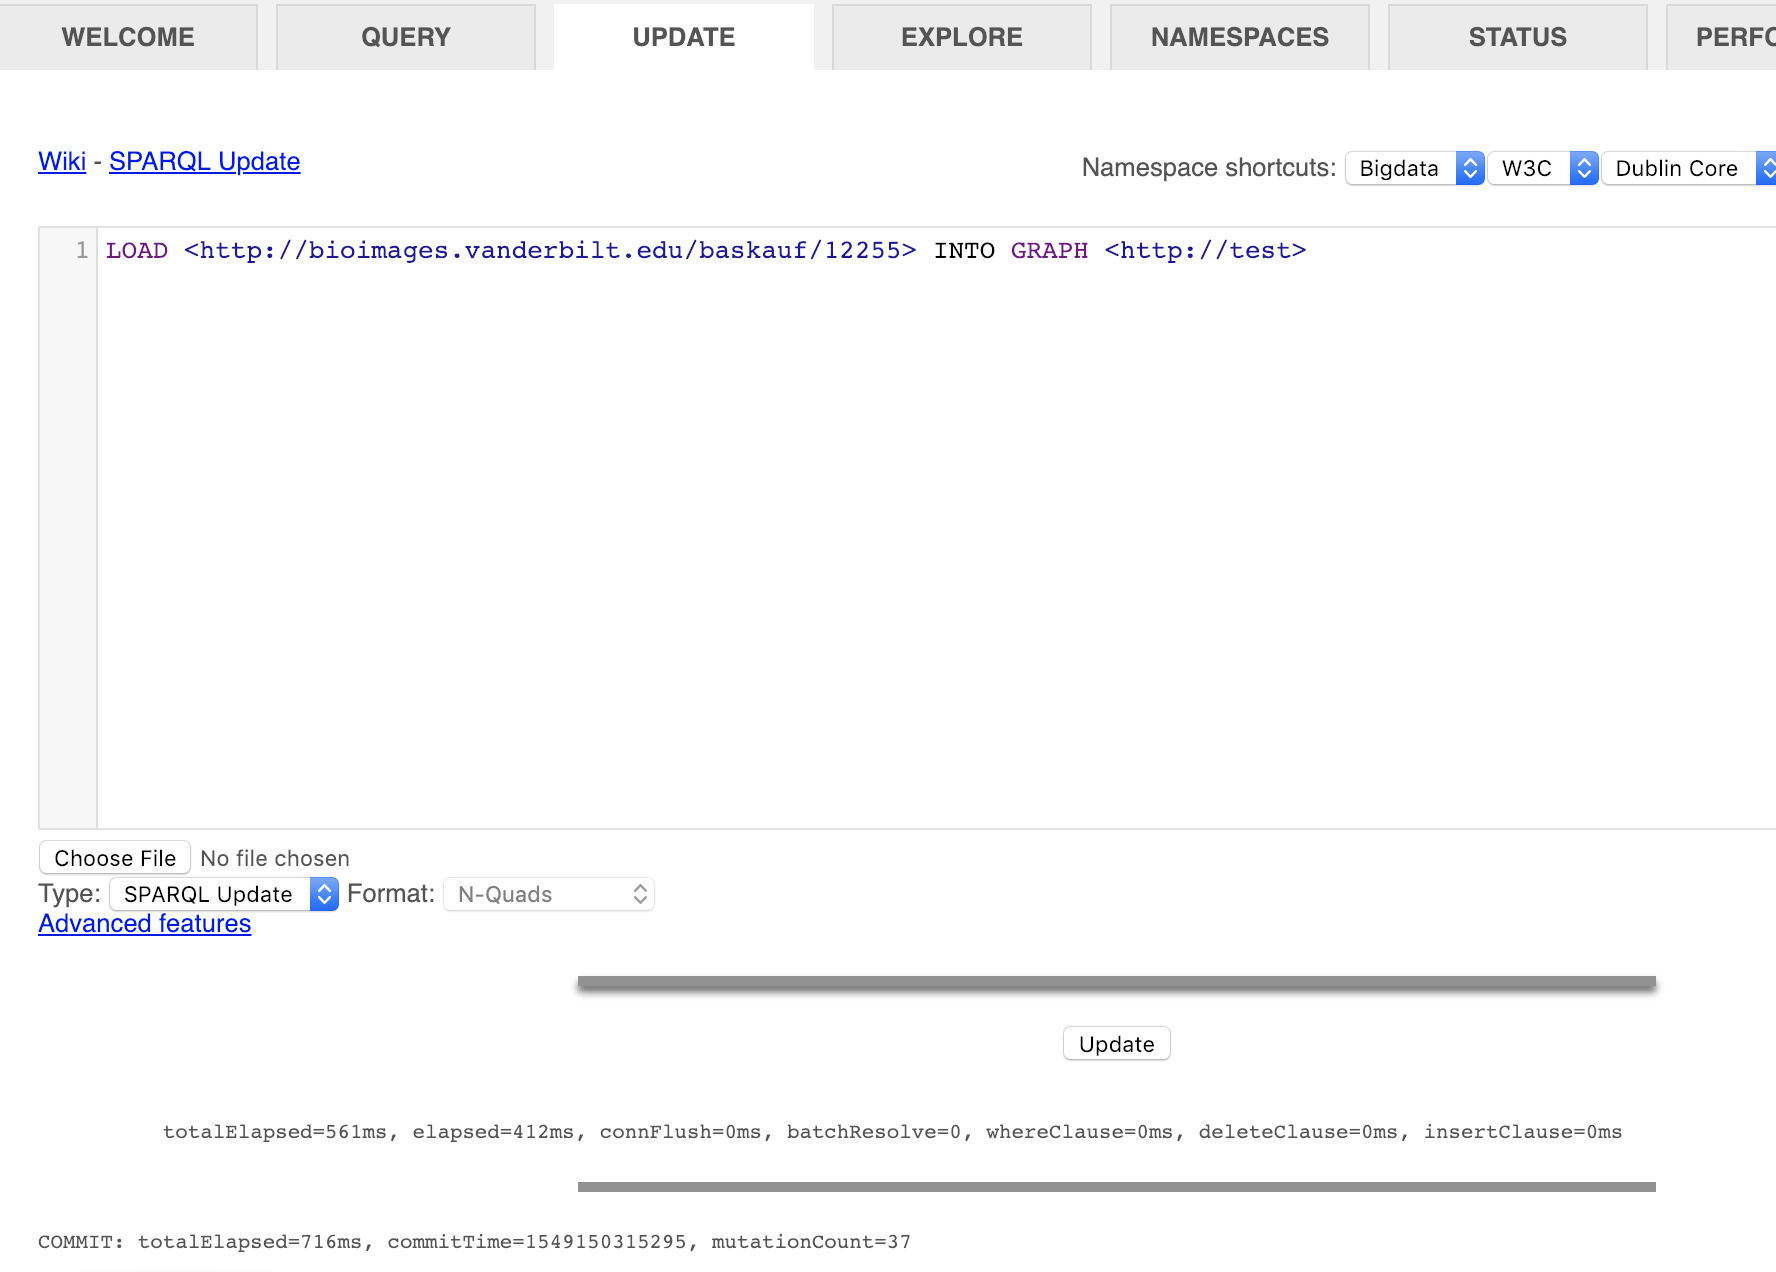
To upload a file through the Internet, change the Type to SPARQL Update. (You may need to refresh the browser in order to be able to type the command.) Then enter a SPARQL Update command in the window, of the form:
LOAD <http://bioimages.vanderbilt.edu/baskauf/12255> INTO GRAPH <http://test>
The first URL must be a valid URL that dereferences to a file in some RDF serialization. Note that the server must provide a Content-type header appropriate for the file type (Github raw files do NOT do this). The graph URI can be any valid URI and it does not matter whether it actually dereferences to anything. Click the Update button. If the update is successful, there will be a message at the bottom of the screen with a “mutation count” showing the number of triples loaded. It will look like this:
Querying
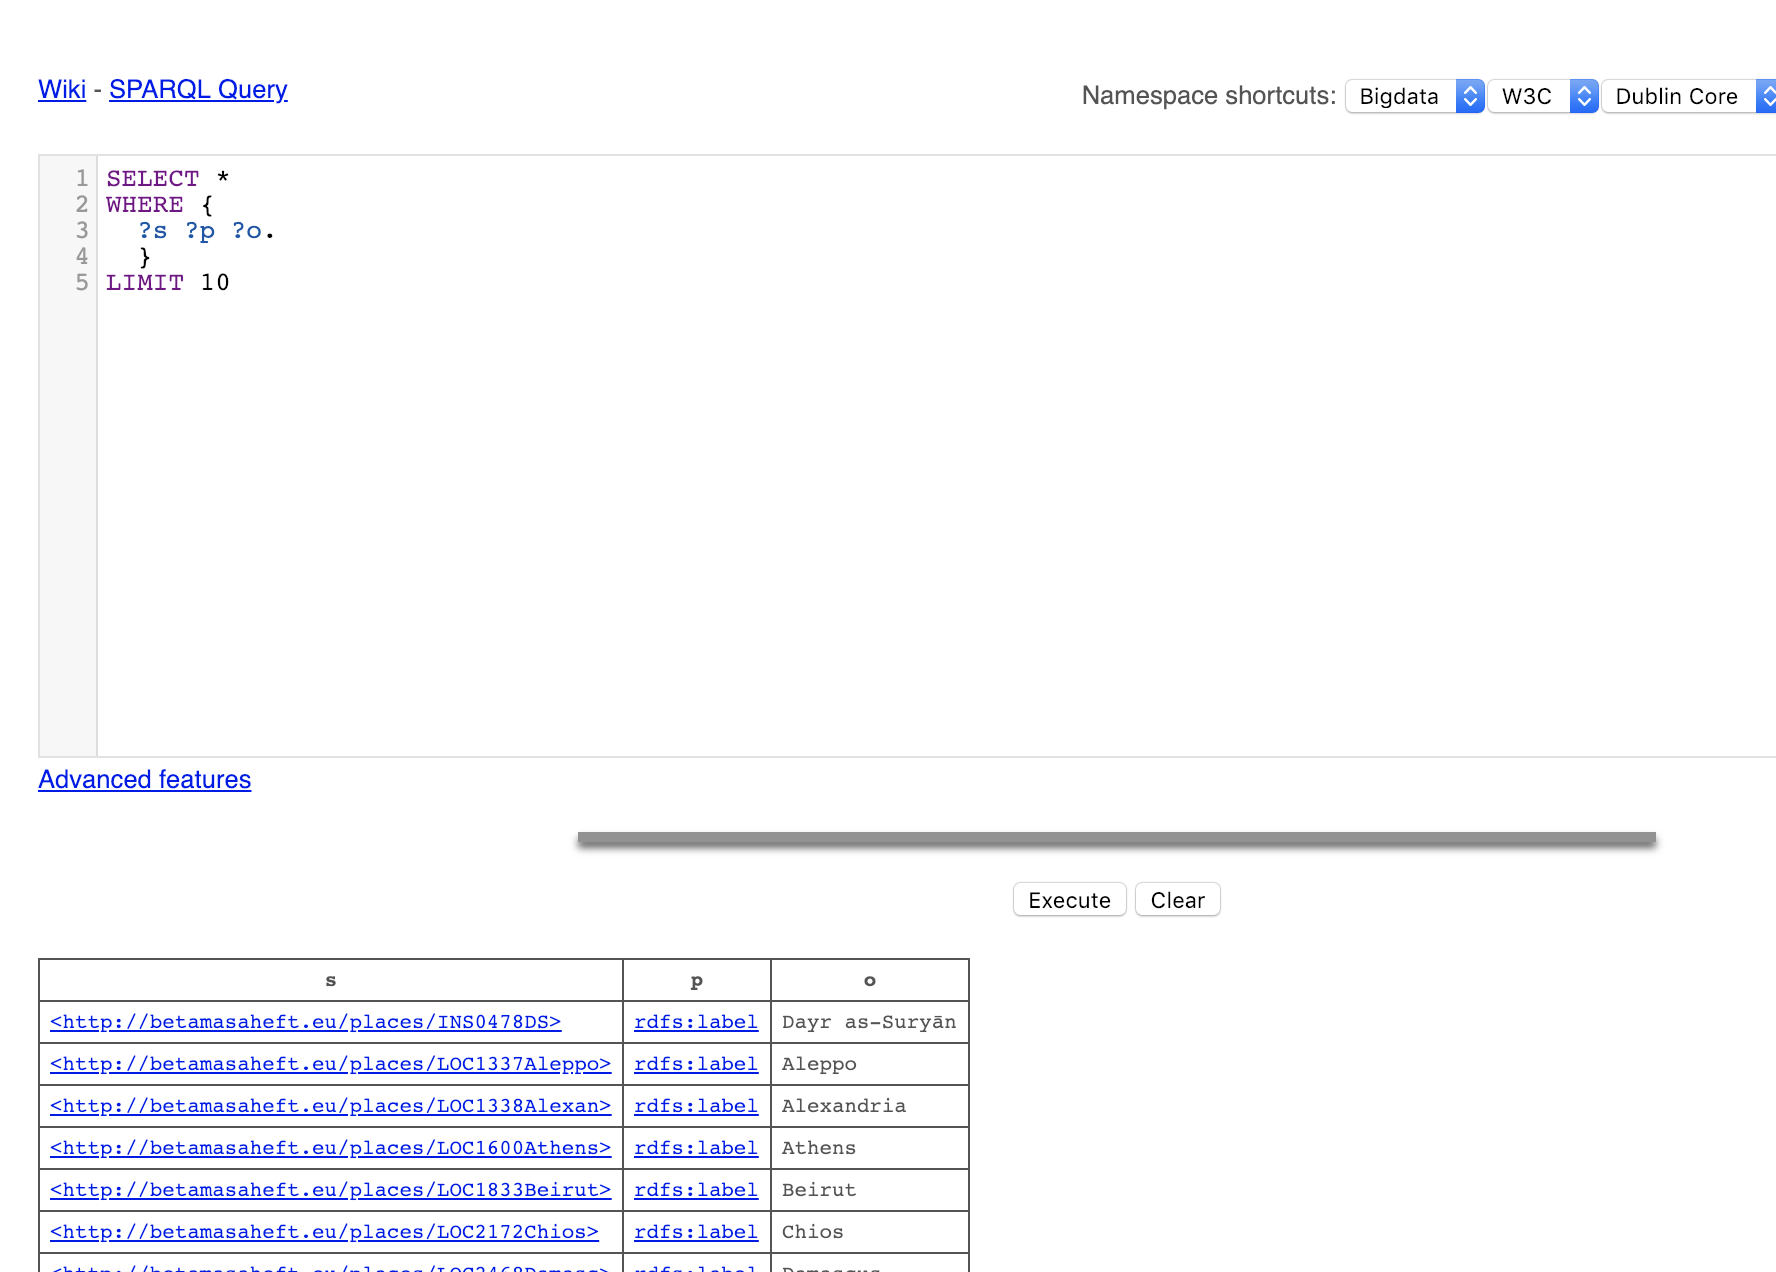
Click on the QUERY tab. Enter any query, for example:
SELECT *
WHERE {
    ?s ?p ?o.
}
LIMIT 10
The query results will appear below the box like this:
Using Docker Compose to create an instance of Wikibase on your local computer
Docker Compose is a feature of Docker that allows you to coordinate running multiple Docker containers. It is installed automatically when you install docker. To ensure that Docker Compose is installed and functional, open a console window (Command Prompt on Windows or Terminal on Mac) on your computer and enter:
docker-compose --help
If Docker Compose is running, you should see some help information.
What is Compose?
Compose is a way to run a complex application that uses several individual Docker applications simultaneously in a coordinated way.
The key feature is a file that defines all of the containers that are necessary, and the settings that are required in order for them to work together. By default, this file is called docker-compose.yml. Compose assumes that you have already pulled the images for the containers you need, although for some well-known images, it may be able to pull them automatically when you run the whole application.
When you run a Compose application, Compose starts (or restarts) all of the individual containers. When you stop a Compose application, Compose shuts them all down safely.
For more details see the Docker Compose overview page.
Installing and running Wikibase
Note: Wikibase requres 4 GB of memory allocated to Docker in order to run in Docker Compose. If your computer doesn’t have at least 8 GB of memory, you probably won’t be able to do this part of the exercise.
For a tutorial on how to install Wikibase on Digital Ocean, see this page. These instructions also include how to get Quickstatements to work!
Additional note: You can also install Wikibase without using Docker, although it’s more complicated. Instructions are at this web page.
Start by going to Docker Hub (https://hub.docker.com/). Enter wikibase in the search box at the top of the page. The first hit you see should be wikibase/wikebase. This is the typical set of images needed to run the Wikibase applicaiton. Click on the link to get to the information page about that application.
The containers needed to run Wikibase are described in the table at the left of the screen. However, don’t download them using the command in the upper right of the screen. Instead click on the README link at the bottom of the screen to go to the developer’s GitHub site. The resulting page has step-by-step instructions.
You should have already done the first step. (If not, go here for more information.)
Look for the little Docker whale icon in the system tray. Click on it an select Preferences… . Click on the Advanced tab.

Slide the memory slider from the default 2 GB to 4 GB. Note: since Docker starts up when you computer boots, it may use system resources at times you are not thinking about it. If you are just experimenting with this, you might want to return the slider to 2 MB after you are done playing around.
The next step is to put the docker-compose.yml file some place on your computer where you can find it. The simplest place is to put it in your home folder so that you don’t have to navigate around at the command line to find it. If it is in your home folder, it will be ready to go as soon as you open a console window. However, if you will eventually be running more than one Docker Compose applications, you should make a subdirectory for each one since you can’t have several files named docker-compose.yml in the same directory.
Go to this page, then right-click on the Raw button and select Save Link As.... In the dialog, select your home folder (or wherever you decided to put it), and click Save.
In your console window, navigate to the place where you put the docker-compose.yml file. Then issue the command
docker-compose up
The first time you do this command, Docker Compose will pull all of the files that it needs. That will take a while. After pulling and installing all of the pieces, then you will see a bunch of configuration steps going on. If Wikibase is successfully running, you should eventually see a series of messages saying “Got no real changes” followed by “Sleeping for 10 seconds”. These messages will continue as long as Wikibase is running.
If you this phase goes on for many minutes and you see other kinds of messages, then Wikibase is not working and you probably won’t be able to get it to work on this computer without professional help. Run the down command as explained in the next section, then see the instructions below for cleaning up your computer after experimentation.
Because this console window will never return to the prompt, when you want to stop Wikibase, you need to open a second console window. Right click on the console icon in the task bar and select “New Window”. In the new console window, navigate to the place where you saved the YAML file, then enter :
docker-compose down
You should see things happening in both of the console windows as it shuts down. When both windows have returned to the command prompt, Wikibase has been shut down.
Using Wikibase
As was the case with stand-alone Blazegraph (described above), you actually use Wikibase by accessing it through a web browser. The Accessing your Wikibase instance and the Query Service UI README page has a list of the ports through which you can access the various pieces of Wikibase. The most basic entry point is the Wikibase Mediawiki interface (port 8181). To get to it, open a browser window and enter the following in the URL box:
localhost:8181
From this page, you can manually set up new properties, add data, etc. After you have added data, you can query it using the Wikibase Query Service at localhost:8282.
Because Wikibase uses Blazegraph as a back end, you can see the Blazegraph interface at http://localhost:8989/bigdata/. However, you can only query, since updating through that interface is disabled. You can also access a QuickStatements interface, but that is beyond the scope of today’s lesson.
Cleaning up if you are just playing around with this
Obviously if you are planning to use any of these tools, you won’t want to get rid of all of the pieces that you’ve created in this lesson. But if you are just experimenting or if the installation has failed, do the following commands in your console window. (These instructions are abbreviated from this cheatsheet. See it for further details if you just want to remove part of what you’ve installed.)
To stop and delete all containers
Stop all of the containers that are running:
docker stop $(docker ps -a -q)
Remove all containers:
docker rm $(docker ps -a -q)
Remove all images
docker rmi $(docker images -a -q)
Uninstall Docker
Use the usual method for your operating system. Docker Compose will be uninstalled when Docker is uninstalled.
Revised 2019-02-03

Questions? Contact us
License: CC BY 4.0.
Credit: "Vanderbilt Libraries Digital Lab - www.library.vanderbilt.edu"