Getting Started with the Thonny IDE
Thonny is an Integrated Development Environment (IDE) designed to make it easier for beginners to create and run Python Code. If you install Thonny, it will also install Python 3 if you don’t already have it on your system.
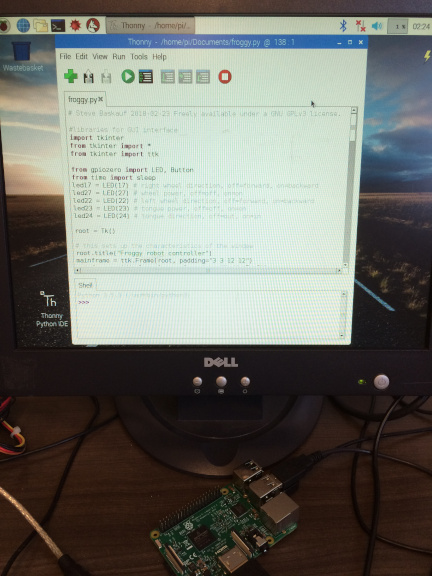
Thonny comes pre-installed if you install the Raspbian operating system on a Raspberry Pi computer.
Installing Thonny on a Mac
Install
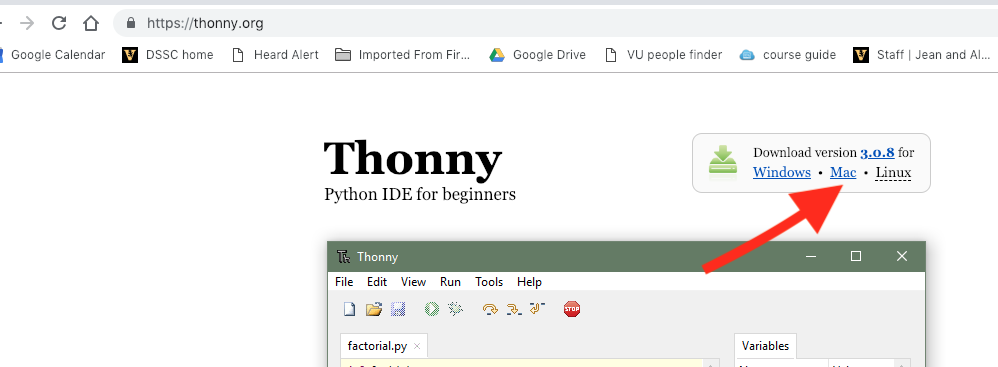
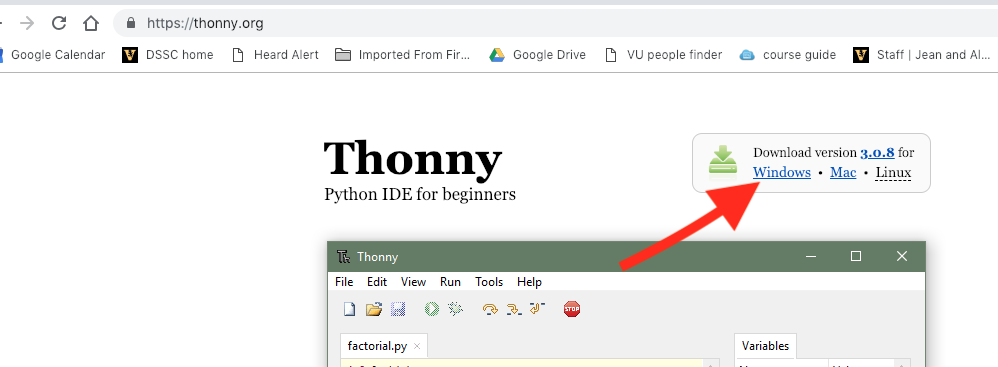
1. Go to the website https://thonny.org/ and click on the Mac link in the upper right corner.
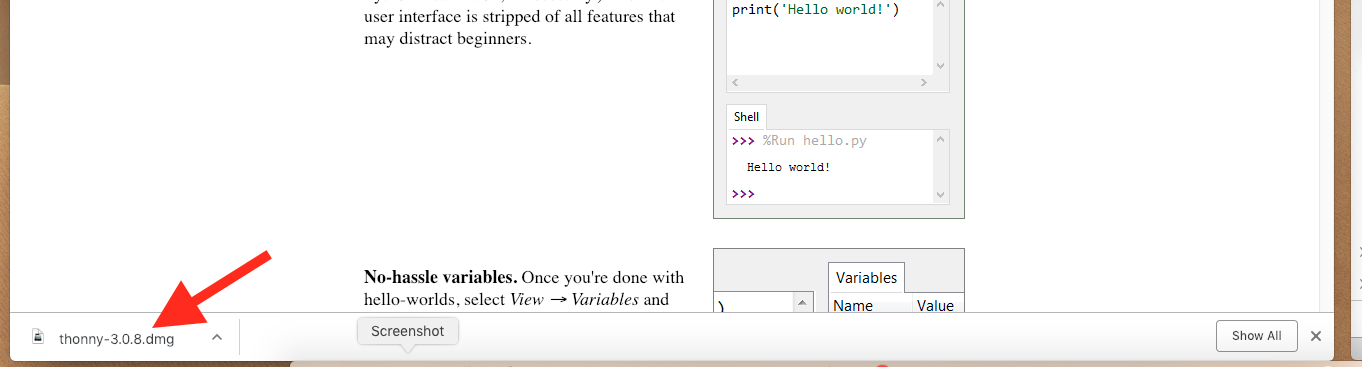
2. A file named something like thonny-3.0.8.dmg will be downloaded to the normal place on your browser. Here’s where it goes on Chrome:
3. Double-click the file to open it. You will see a window like the one below.
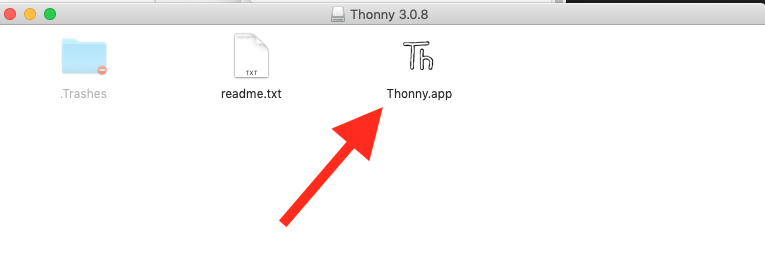
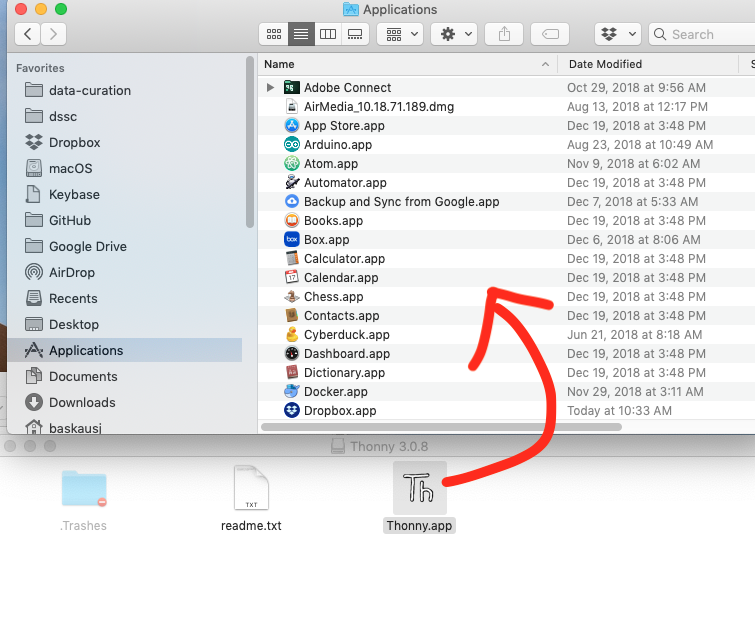
4. Drag the Thonny.app icon into your Applications folder.
You can now run Thonny by doublc-clicking on it in your Applications folder or by opening it in Launchpad.
5. The first time you open the Thonny application, you may get a message something like the one below:
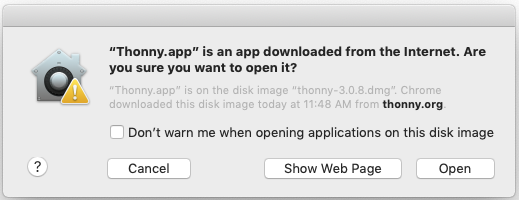
Click Open.
Cleanup
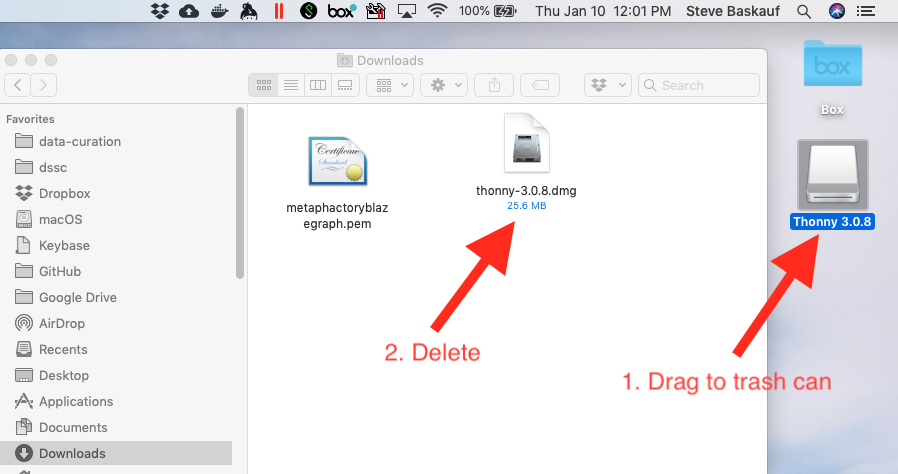
1. The .dmg installation file is behaving like a disk drive, so you’ll see it on your desktop as a drive icon. To get rid of it, drag it to the trash can to eject it.
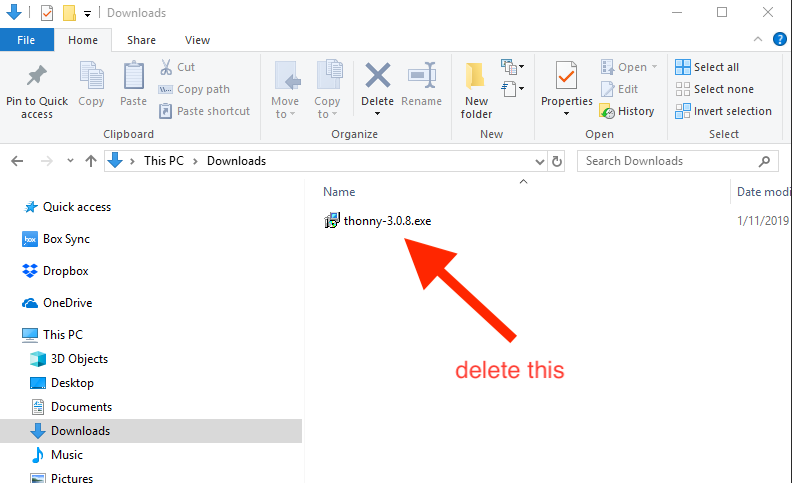
2. Once you’ve moved the application to your Applications folder, you don’t really need the installation file any more. You can go to your Downloads folder and delete it if you like to keep your Downloads folder uncluttered.
Installing Thonny on a PC
Install
1. Go to the website https://thonny.org/ and click on the Windows link in the upper right corner.
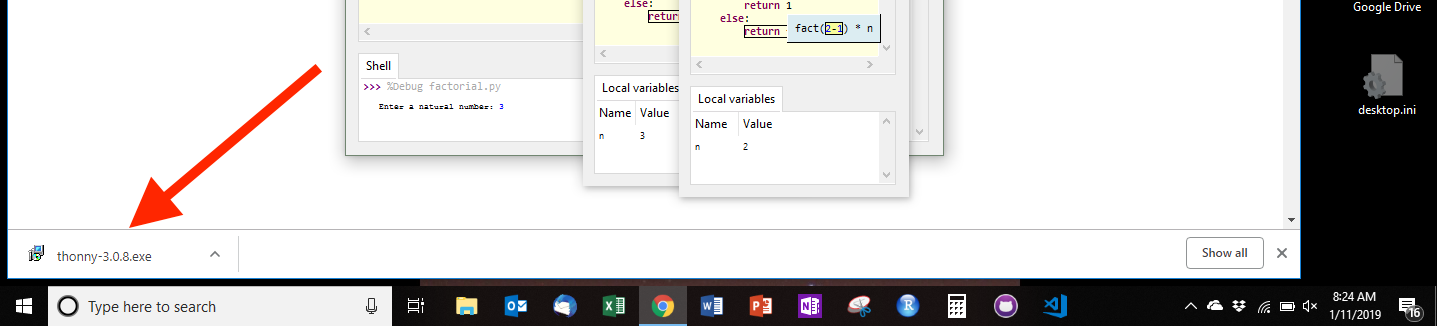
2. A file named something like thonny-3.0.8.exe will be downloaded to the normal place on your browser. Here’s where it goes on Chrome:
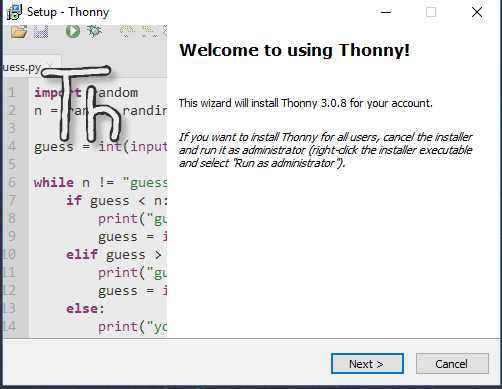
3. Double-click the file to open it. You will see a window like the one below.
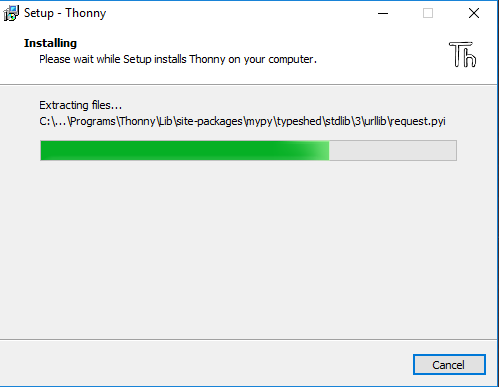
4. Click on Accept and move through the normal options. If you want a desktop icon, check that option. You’ll see an install progress window like this:
Click the necessary buttons to complete the installation.
5. If you said you wanted a desktop icon, it will look like this.
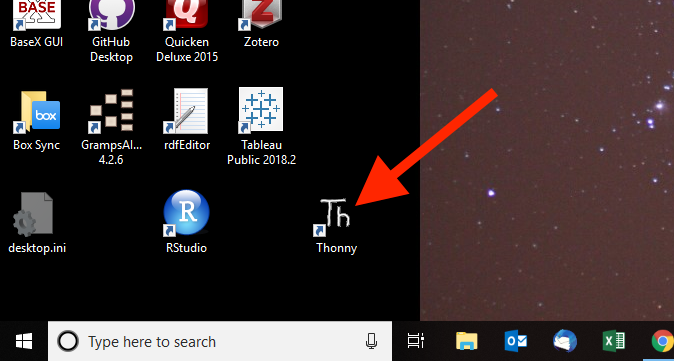
Double-click it to start. Otherwise, find and run the Thonny application from your Start menu.
Cleanup
1. If you don’t like clutter in your Downloads folder, you can delete the executable installer file.
Running a Python script in Thonny
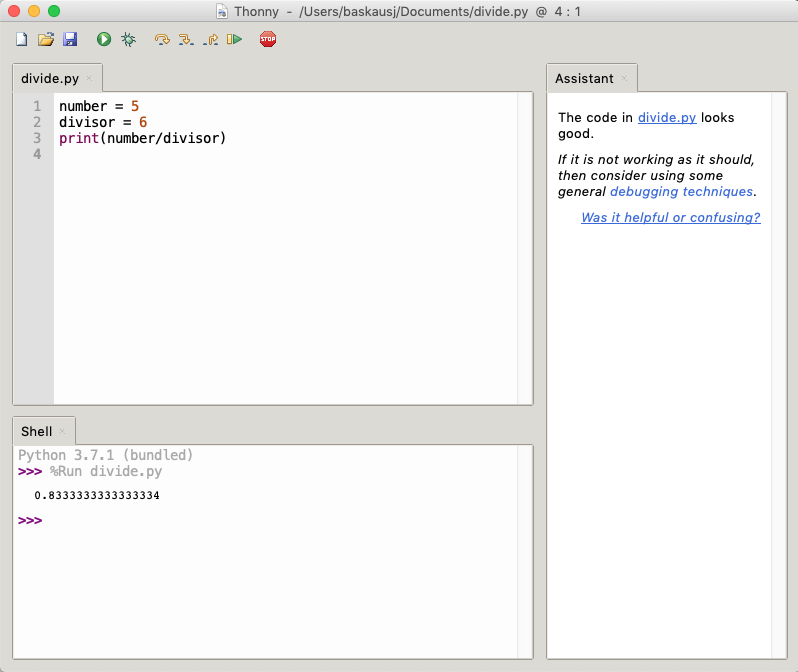
1. When your run Thonny, there will be at least two panes visible in the window. The top pane is the editing window. This is the place where you can compose your script. The bottom pane, called the Shell window, is the place where the script runs.

A third window, the Assistant window, may or may not be there. It will pop up as necessary.
2. To test Thonny, copy and paste this script into the editing window:
number = 5
divisor = 6
print(number/divisor)
To run the script, click the green Run button.
Note: if this is the first time you have run a new script, Thonny will prompt you to save the script somewhere. Since this is practice, it doesn’t matter where you save it or what you call the file, although you should end the file name with the extension “.py”.
The results will show up in the Shell window. In this case the Assistant window has indicated that everything was good with my code.
3. We can also directly issue Python commands by typing them in the Shell window. For example, if I want to know what the value of the variable number is, I can type the command
print(number)
directly in the Shell window, then press Enter (or Return) to execute the command and see the results immediately.

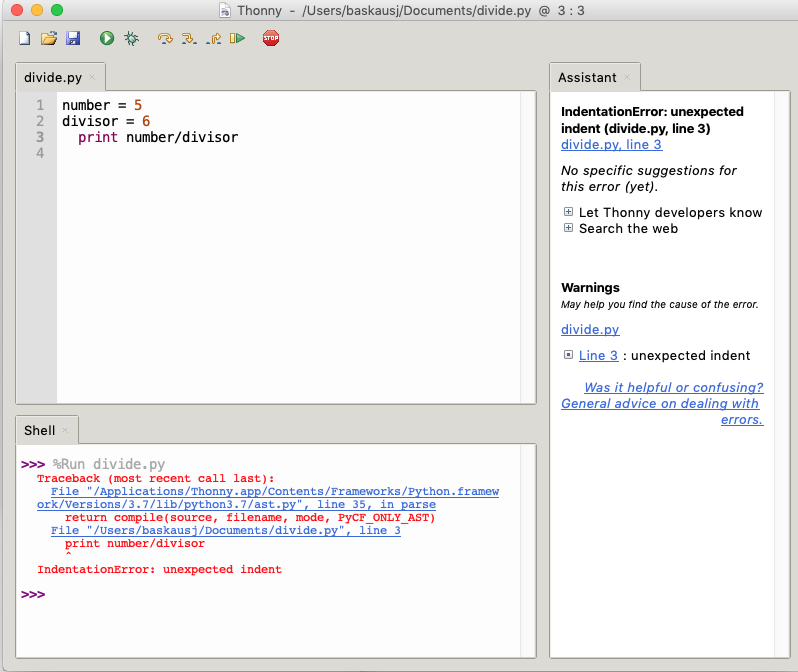
4. The Assistant window may be helpful if there are errors. In the example below, there were several unnecessary spaces inserted at the beginning of line 3. Because Python is particularly sensitive to incorrect indentation, this caused an error when the script was run. The error shows up in the Shell window, but the error message is also displayed in a more cleaned-up form in the Assistant window.
Installing a package in Thonny
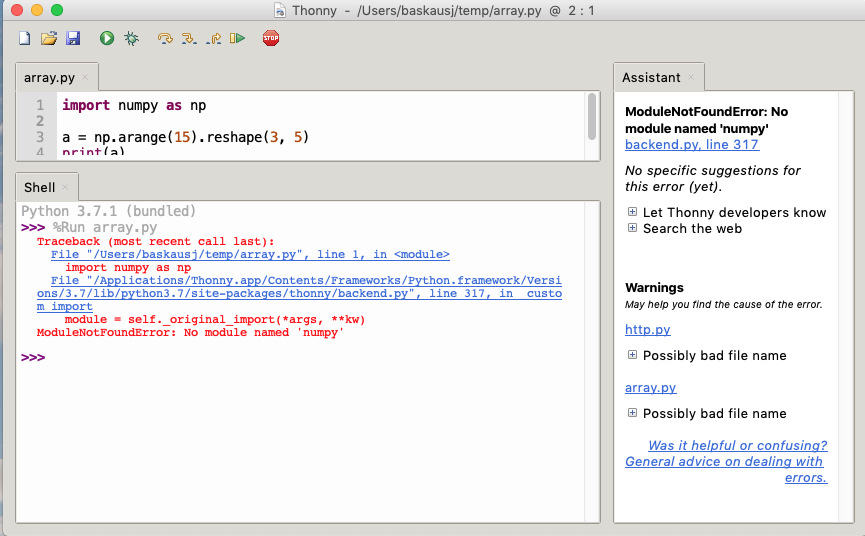
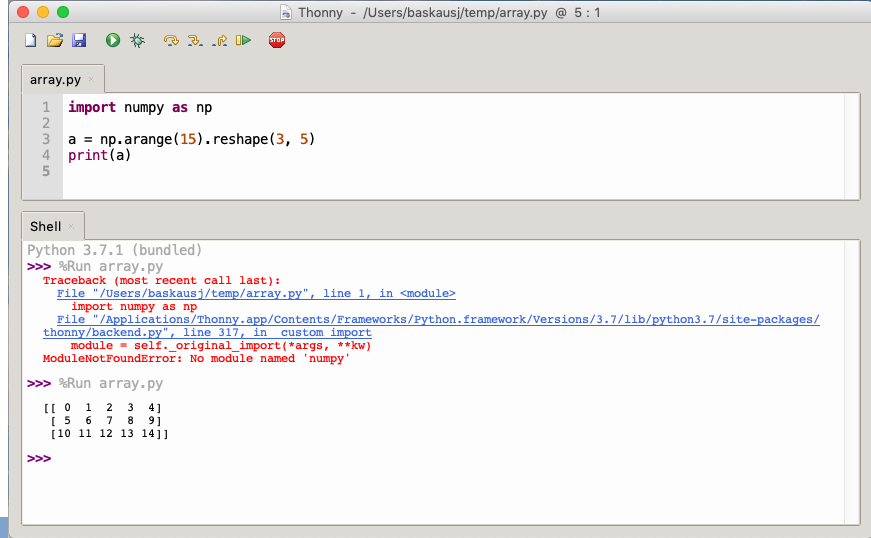
Sometimes you will try to import a module and receive an error message saying that the module is not found:
To fix this problem, go to the Tools menu and select “Manage packages…”

In the resulting window, type the name of the missing package and press the Enter/Return key. When the package is found, click the Install button:
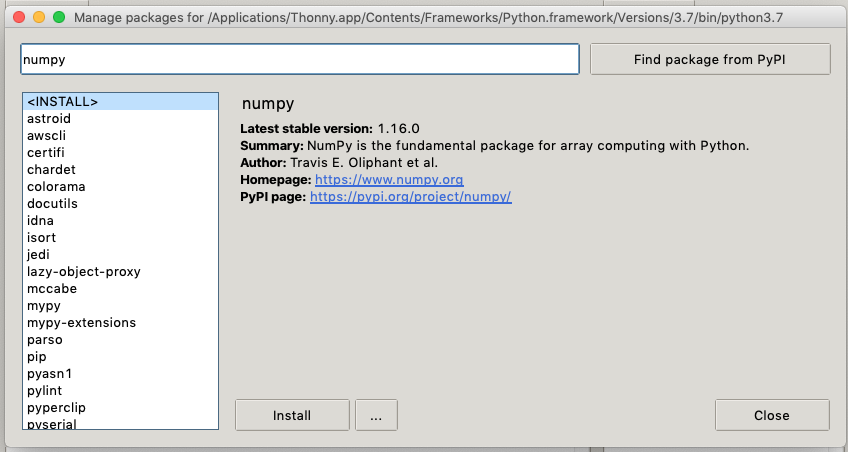
Close the window, then re-run your program. You should now see results without an error:
Revised 2019-01-17

Questions? Contact us
License: CC BY 4.0.
Credit: "Vanderbilt Libraries Digital Lab - www.library.vanderbilt.edu"